[ad_1]
French manicures are staging a comeback, and the 90’s youngster in me is thrilled. Whereas nail artwork actually occupies quite a lot of actual property within the social media ether, the flashier kinds aren’t precisely one thing I’d rock every single day. However a basic French manicure at all times seems to be polished {and professional}—and it’s tremendous simple to do with a few nail instruments and a few common ol’ nail polish. So, don’t fear if portray your personal nails has by no means been your forté. I’ll present you tips on how to do a French manicure at house that appears salon excellent.
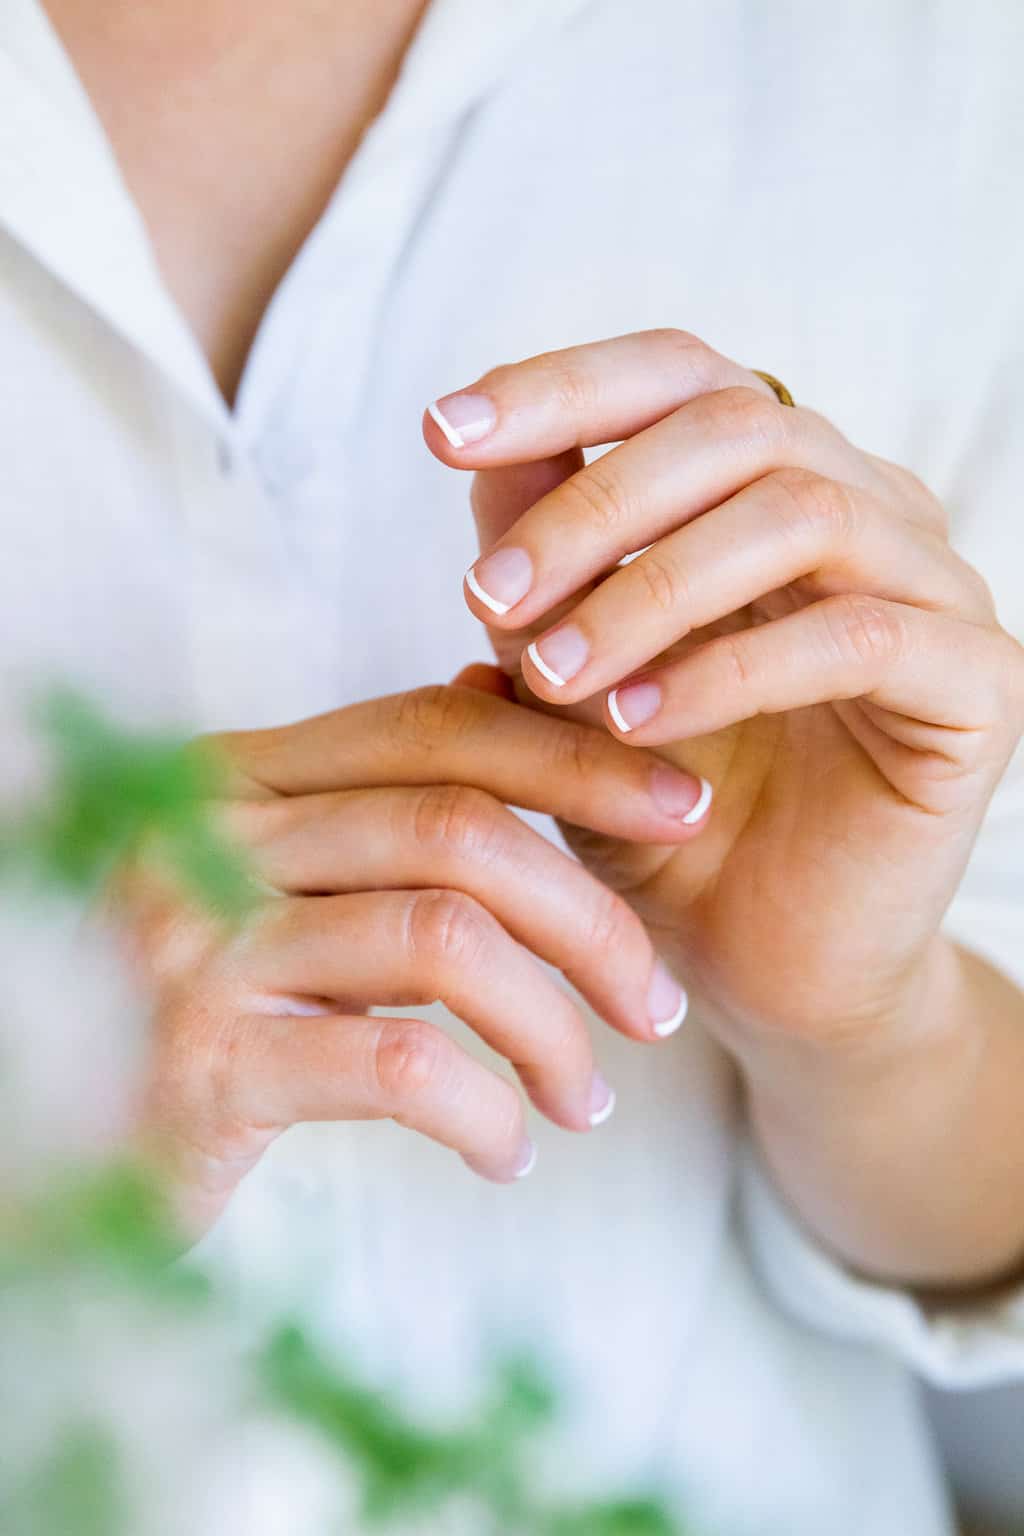
What Is a French Manicure?
Historically, a French manicure is one the place the nail bases are painted pink or left pure, and the ideas are painted white. It merely accentuates the pure look and form of the nails with out including an excessive amount of flash, making them ideally suited for formal occasions or day by day put on on the workplace.
Extra just lately, the French manicure has been given a contemporary twist through the use of enjoyable colours, glitter, or an ombré impact on the ideas as a substitute of plain white. So whereas I stroll you thru tips on how to do a standard French manicure on this put up, I don’t need you to really feel hemmed in. Get inventive and use any colour combos you like.
Tips on how to Do a French Manicure
Earlier than you get began, take away any outdated nail polish utilizing an acetone-free nail polish remover. In case your fingers are dirty or you have got grime underneath your nails, it helps to soak your nails in some heat, soapy water and gently scrub them with a mushy bristle brush.

Provides Wanted
—Acetone-free nail polish remover
—Base coat (mild pink or clear)
—Elective: French manicure strips
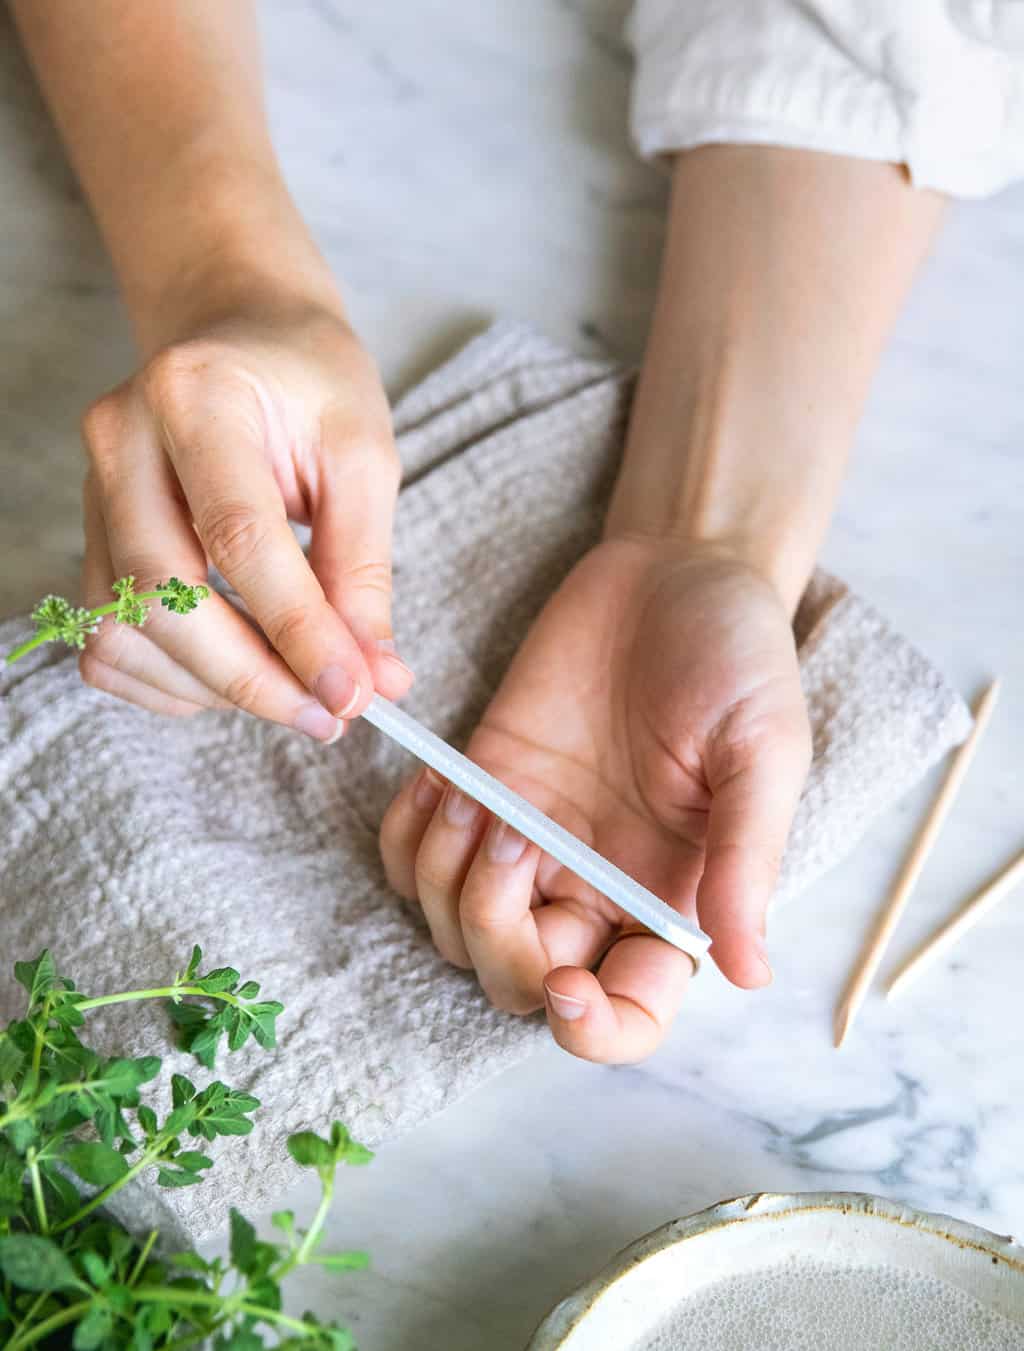
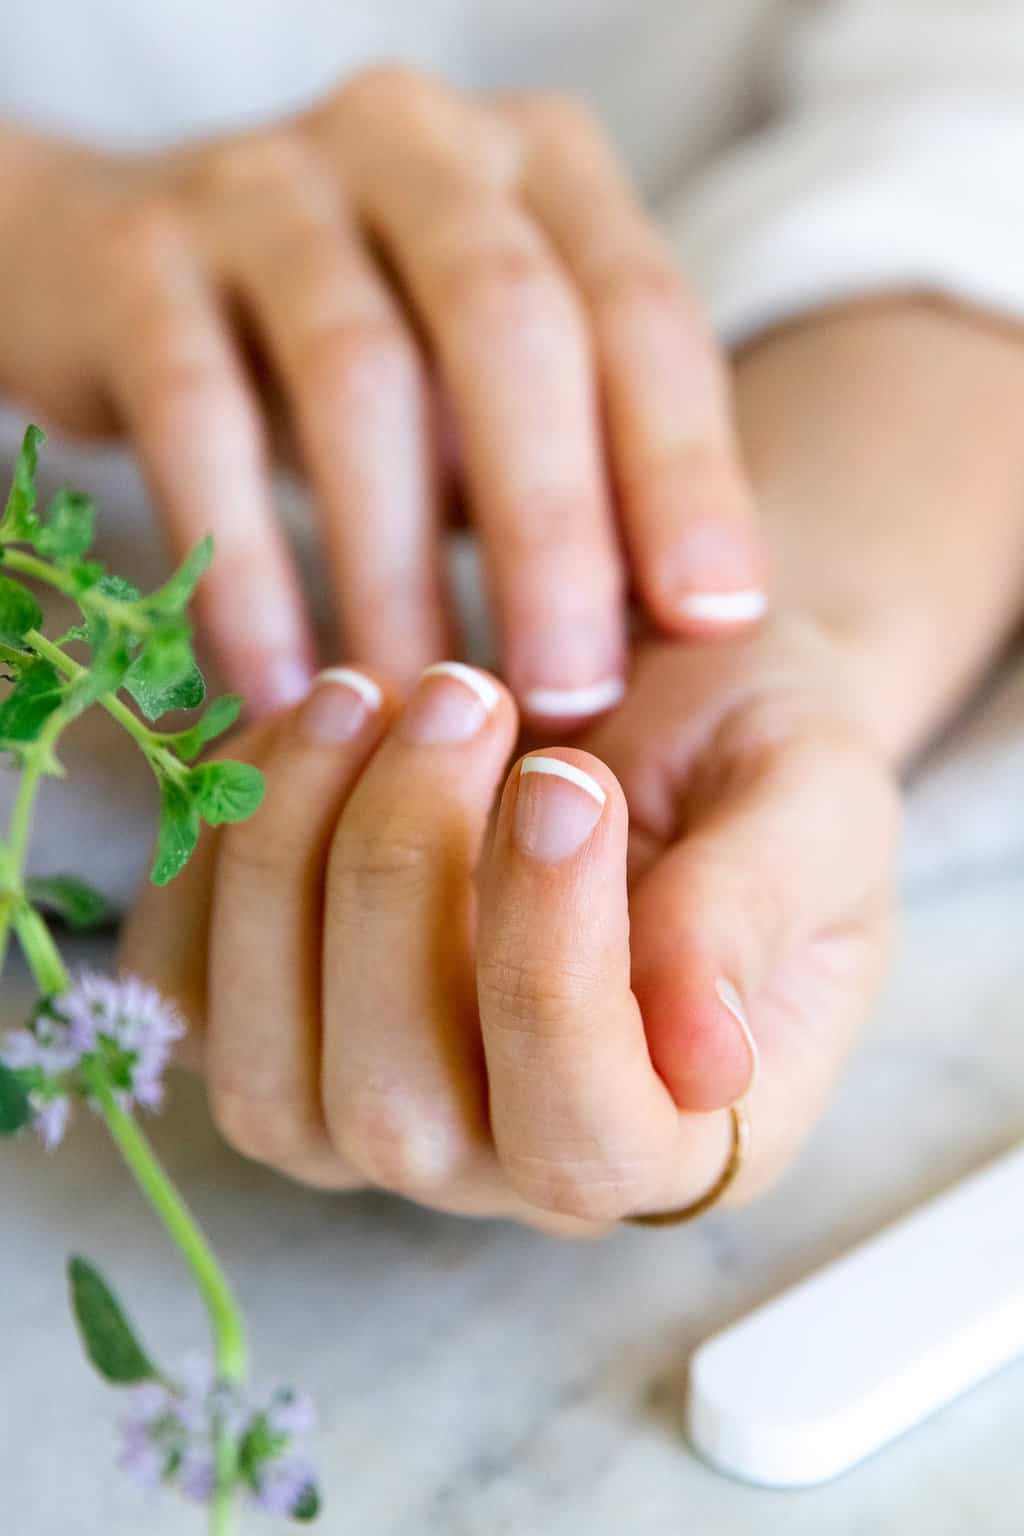
Step 1 | Trim and form nails
Whether or not you like sq., oval, or stiletto, trim your nails after which file them into the specified form. Personally, I preserve it easy and simply intensify my nails’ pure form, which is barely sq.. The longer your nails, the simpler it is going to be to offer them a wholly new form since you have got extra nail to work with.
If you happen to can’t resolve which form to make, strive mirroring the form of your cuticles. You probably have straight or squared-off cuticles, go for sq. or squoval (square-oval) nails. You probably have spherical cuticles, strive a spherical or oval form.
And on the subject of nail information, keep in mind that they’re not all created equal. For evenly refining nails, select a high-quality grit file no decrease than 250 grit. And for reshaping nails fully, select a chunkier grit, no decrease than 180 grit.

Step 2 | Buff the nail plate
As soon as your nails are formed, use a nail buffer to clean the nail plate.
Utilizing the roughest a part of the buffer, gently buff the floor of every nail to clean out any ridges and do away with discoloration. Proceed buffing till the nail turns into cloudy.
Subsequent, utilizing the smoother a part of the buffer, buff the nails till they change into shiny.
Wipe away mud with a humid towel. If there’s any remaining mud across the edges of the cuticles, I discover it best to simply wash and completely dry my palms earlier than shifting on.
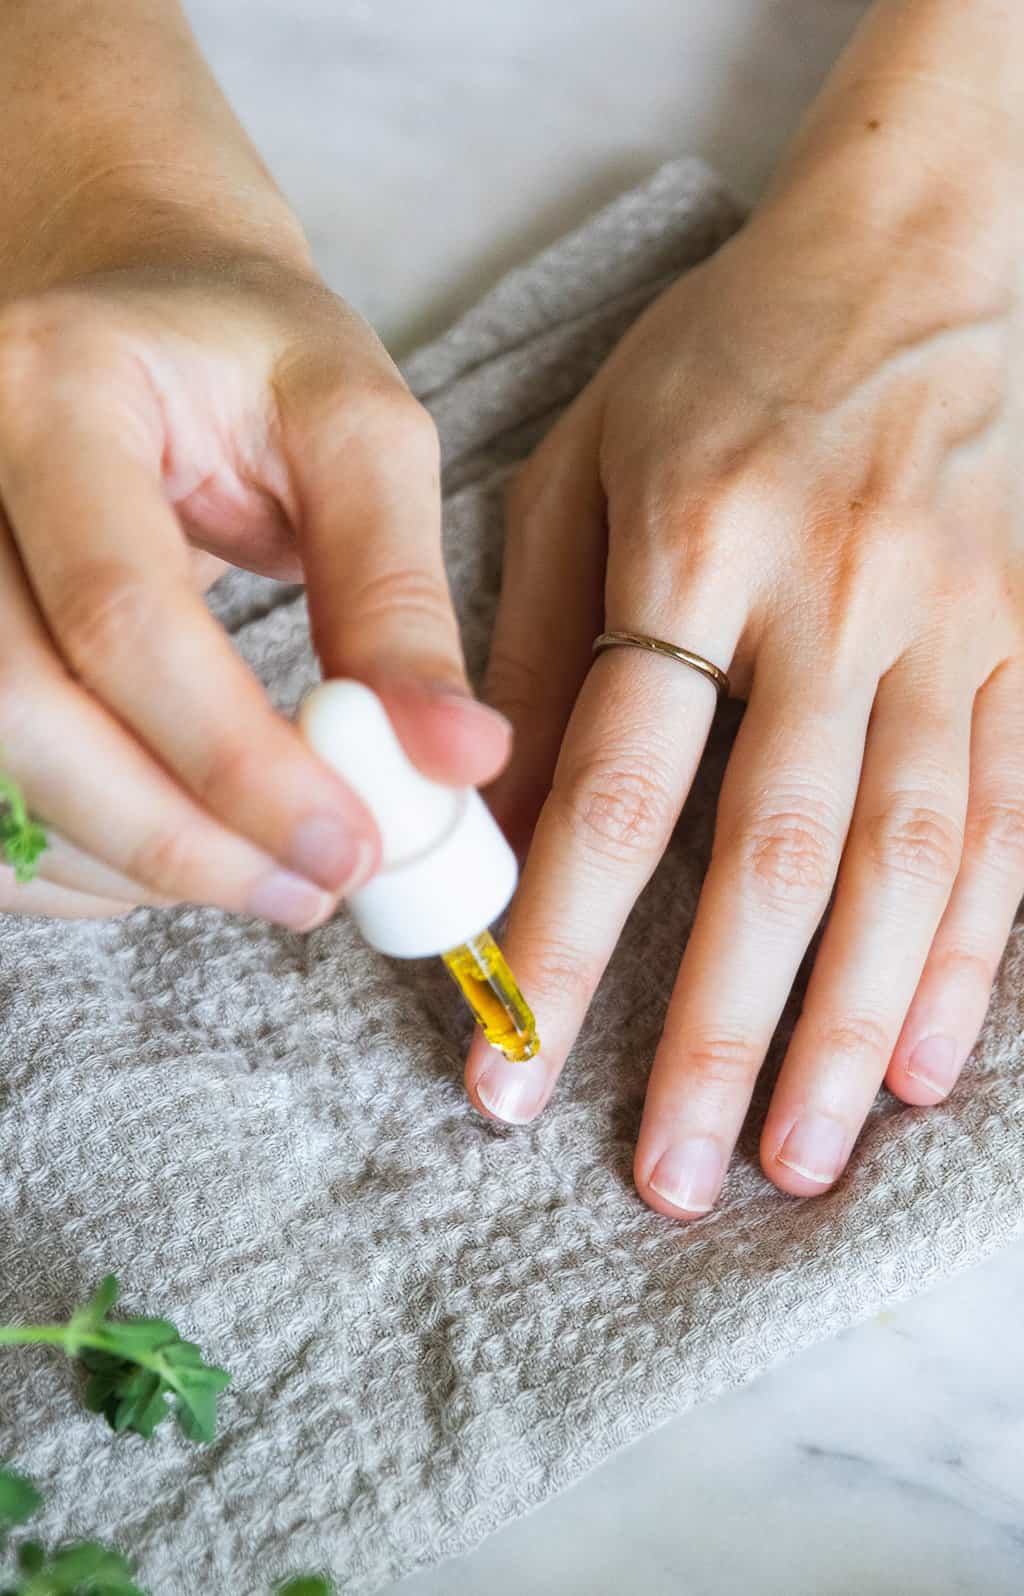
Step 3 | Hydrate cuticles with cuticle oil
Since cuticles generally tend to dry out and peel from the chemical compounds in nail polish, cuticle oil is a should. Nonetheless, you don’t want a elaborate oil to seal in moisture and stop hangnails. Candy almond, jojoba, or olive oil might help nourish and soften cuticles, so that they don’t dry out and crack. Personally, I desire a cuticle oil with enzymes to assist soften my cuticles and put together them for trimming. What sort you resolve to make use of is totally as much as you.
Begin by making use of a drop or two of oil to the bottom of every nail. Then therapeutic massage it into the cuticles for about 30 seconds. The longer you therapeutic massage, the softer and extra hydrated they’ll be, so take your time.
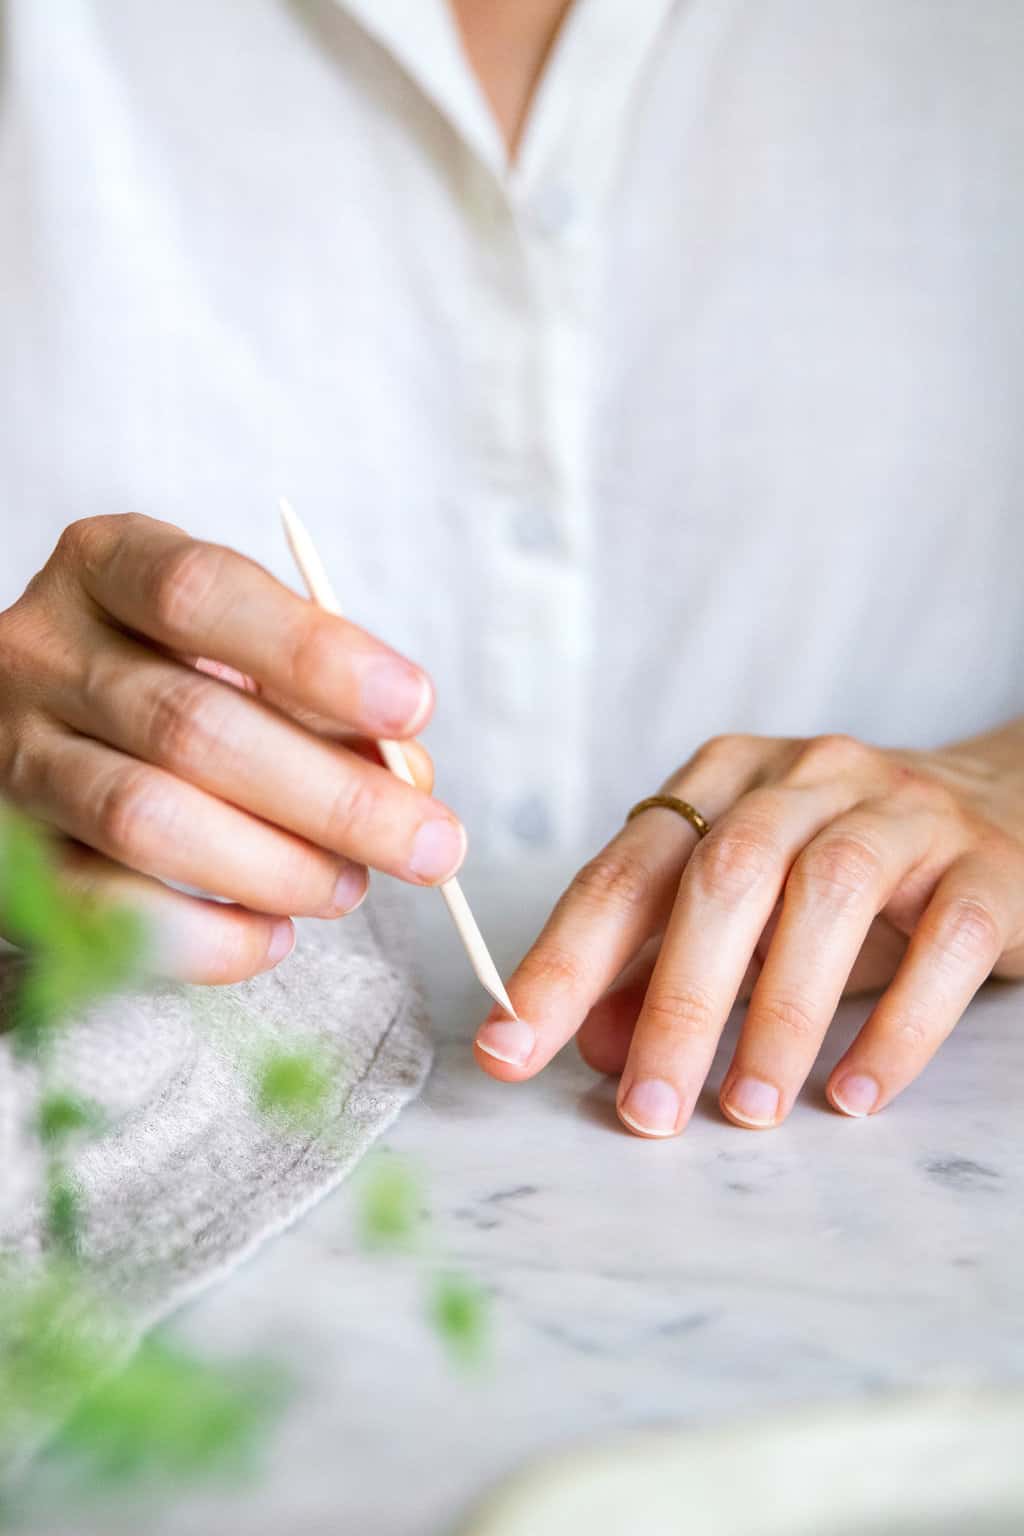
Step 4 | Push cuticles again or trim them
Now that your cuticles are hydrated, it’s time to scrub them up. I discover that the extra I mess with my cuticles, the extra they crack and peel sooner or later, so I preserve this half to a minimal. Clip hangnails and do away with pores and skin that will snag. Then trim your cuticles and use a cuticle stick to softly push them again for those who want.
Rinse off your nails to do away with any lingering oil that will intervene with the applying of your polish.
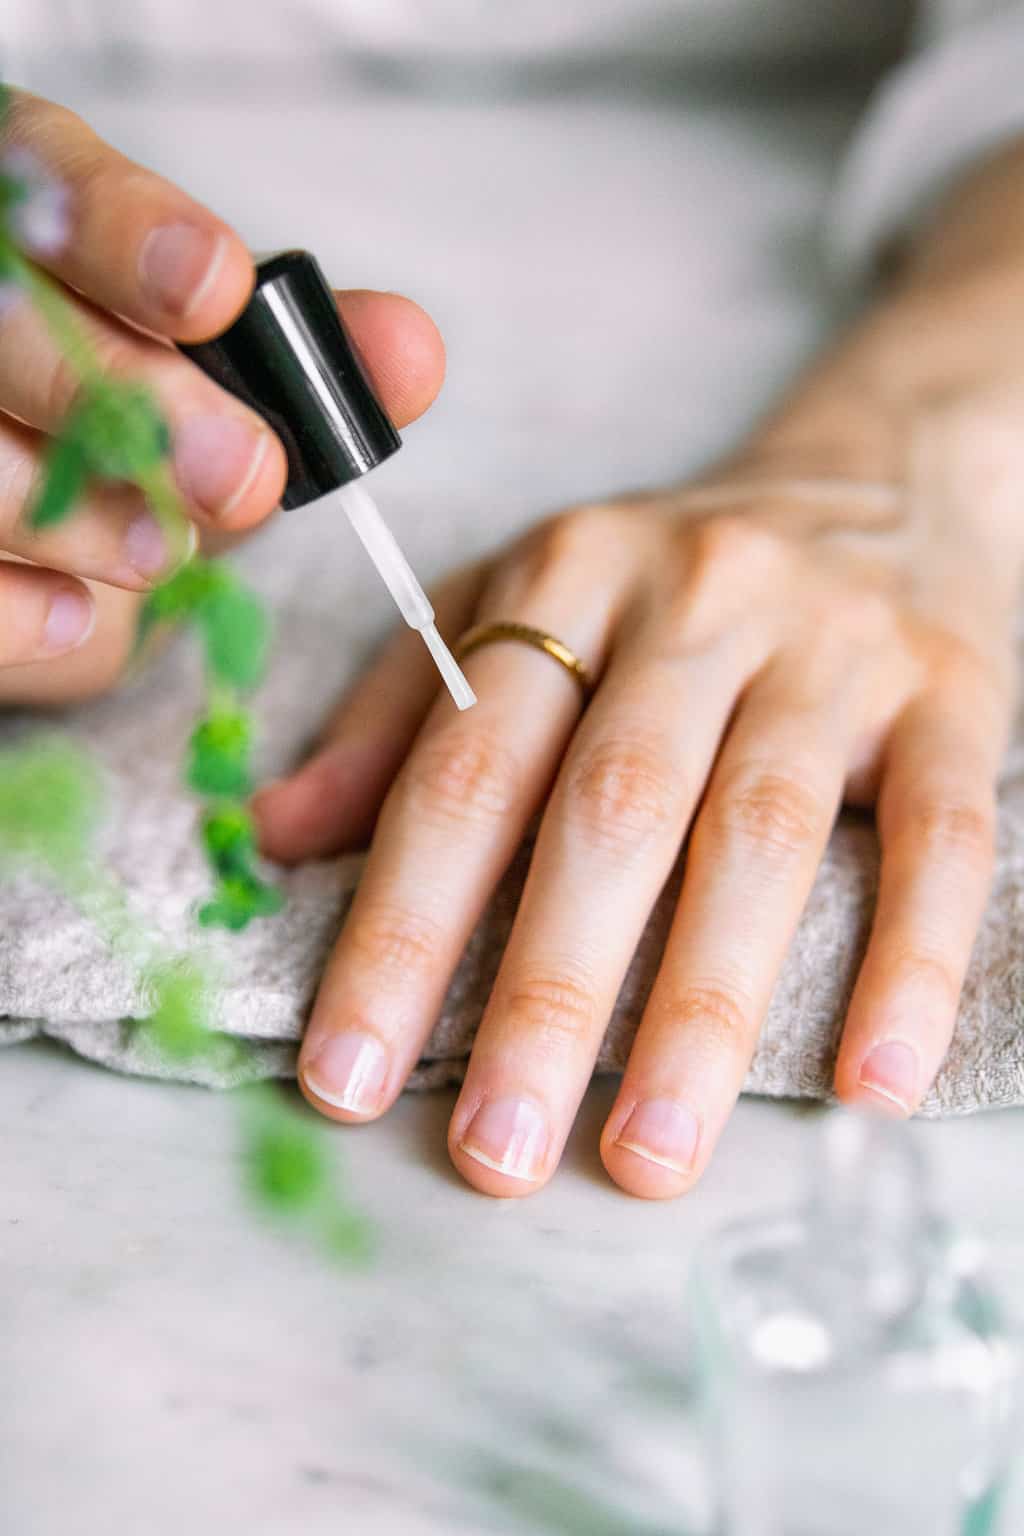
Step 5 | Apply a base coat
With clear, trimmed nails, it’s time to use the bottom coat. Notice: for those who plan to make use of French manicure tape to color your ideas, the glue might take away your base coat. In that case, skip the bottom coat fully and simply seal your nails utilizing a prime coat.
Make sure that to let the bottom coat dry completely earlier than shifting on to the subsequent step.
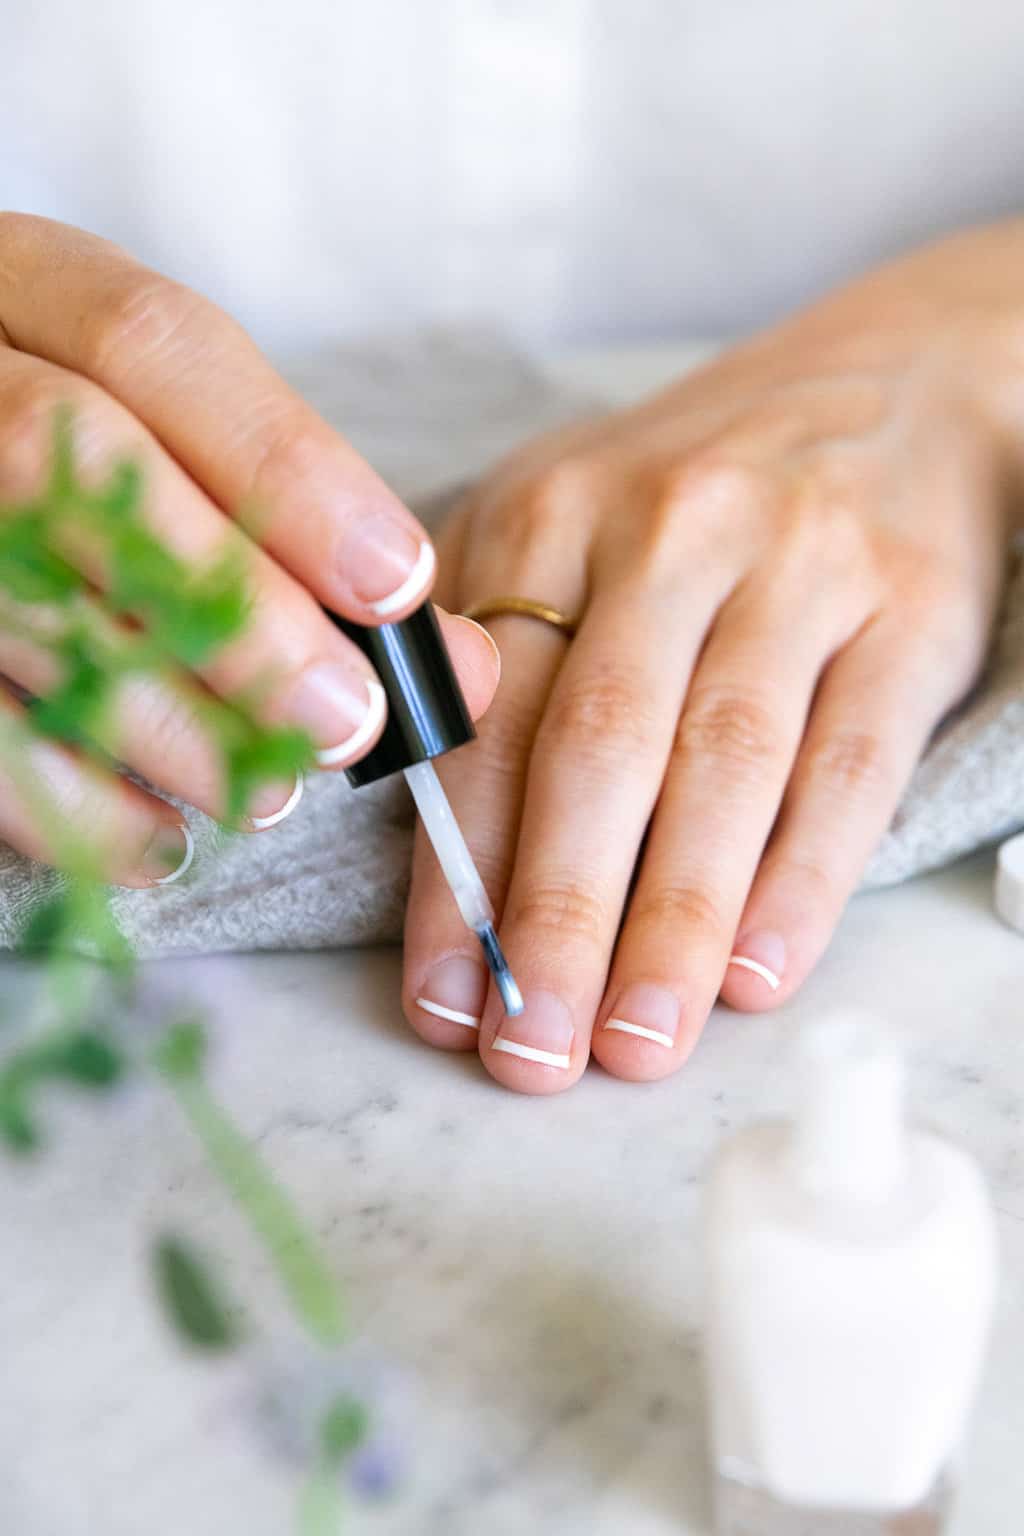
Step 6 | Paint the ideas
You may both paint a straight or curved white strip alongside the tip of every nail. It helps for those who observe the form of your ideas. That method, you don’t have any of your pure nail tip peeking out from underneath the nail polish.
Utilizing the comb that got here together with your polish, take away as a lot colour as you’ll be able to so that you don’t have any drips getting in the best way. Then merely swipe it alongside the tip of every nail.
If you happen to get some polish in your pores and skin, wait till it dries after which return with a manicure clean-up pen or a Q-tip soaked in nail polish remover and clear issues up.
Alternatively, for those who resolve to make use of French manicure strips, apply the sticker slightly below the tip of every nail, then paint. Whereas the paint remains to be moist, take away the strip. Let your nails dry completely earlier than cleansing up any stray nail polish with a clean-up pen.
Step 7 | Apply prime coat
Final however not least, apply a skinny layer of prime coat. The highest coat will assist seal within the colour and stop polish from chipping, so your manicure lasts longer.
Make sure that to let your nails dry for at the least 1 to 2 hours earlier than washing your palms or doing something which may smudge the paint earlier than it’s had an opportunity to treatment.

[ad_2]
Source_link